Breeding Discus with Cones
CERAMIC BREEDING CONES
We recommend ceramic breeding cones, which are very easy to use. They are inexpensive and sturdy, and they give the fish a surface on which to place their eggs. Once the fry hatch, you can easily remove the cone so that the fish can raise their own fry. The cone should have a flat base and a hole on the top to let air escape. The cone plays a significant role in courtship: the pair will dance around it as well as clean it in preparation for spawning. The eggs attach to the surface of the cone, hatch as wrigglers, and detach as fry.
HOW TO BREED DISCUS USING A CONE
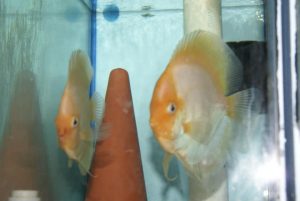
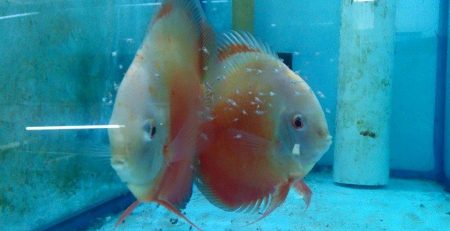
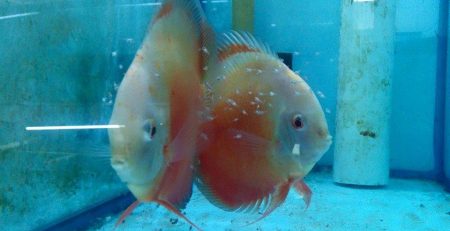
Once the discus pair, put them in a separate spawning tank (also known as a breeding tank) to court.
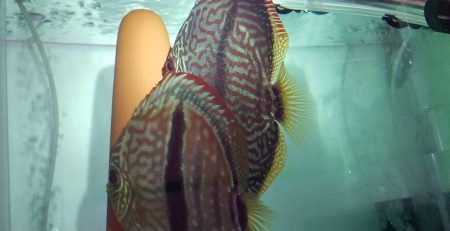
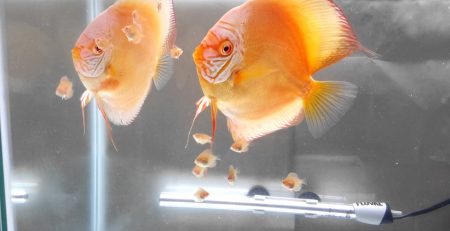
Platinum Gold Discus in Spawning Tank
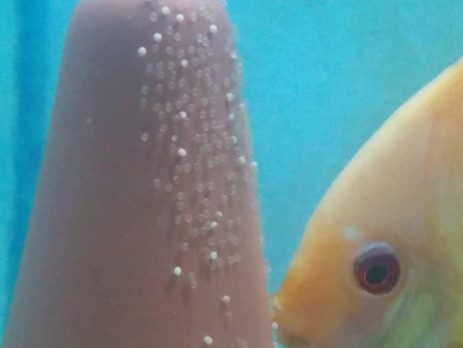
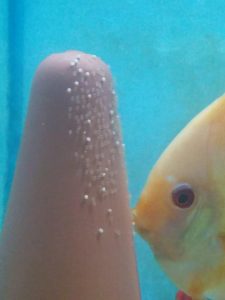
DAY 1: Discus attach eggs to cone. It may be necessary to put a wire cage over the cone to prevent the discus from feeding on the eggs.
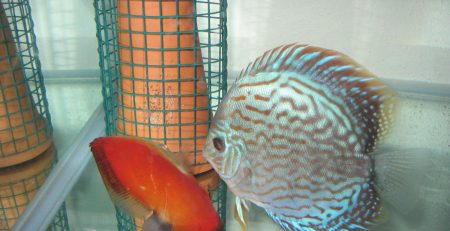
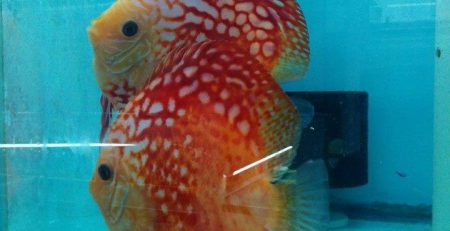
Marlboro Red Discus with Spawn on Ceramic Breeding Cone
DAY 2: Eggs hatch, but remain attached to the cone.
DAYS 3-7: Wrigglers gradually detach from cone and become fry.
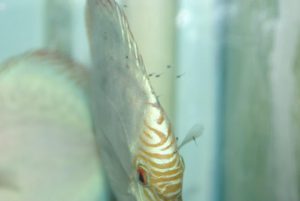
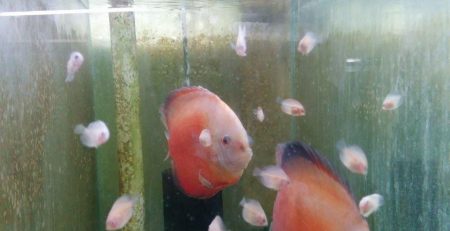
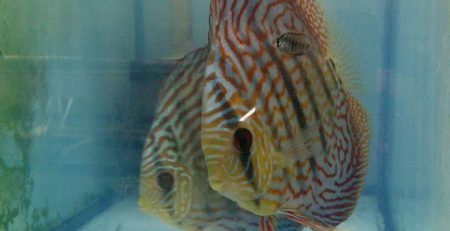
Blue Panda Discus Close Up with Fry
After the fry leave the cone, remove the cone so that the fry will feed off the slime accumulated on their parents’ scales.
To prevent aggressive behavior, or to prevent one of the pair from eating the fry, you may need to separate the pair after the fry have hatched.
DAY 11+: Feed fry artemia (brine shrimp).
WEEK 6: After six weeks, you may feed them normal food.
These steps will help you to successfully breed discus using a cone, which makes the process easier. If you want, you can establish your own discus breeding business!
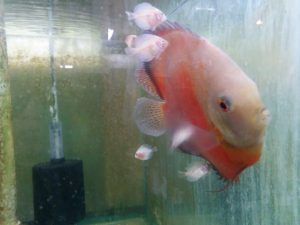
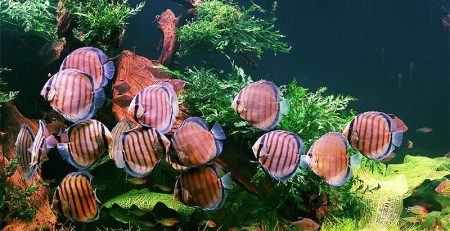
Red Passion Discus with Babies
QUESTIONS
- What are your goals as a discus breeder?
- Where do you plan to buy a ceramic cone?
- Do you think that the cone is the easiest method of discus breeding?
- What other Learning Center articles are you interested in to learn more about breeding?

Leave a Reply
You must be logged in to post a comment.